Thursday, May 16, 2024

Thank You, You're The Best

Today I'm sharing my card featuring Picket Fence Studios new and so gorgeous Blooming Trumpet Flowers stamps and coordinating dies.

For the background I white heat embossed the individual flowers and leaves from the Blooming Trumpet Flowers stamp set.  Then I ink blended on Distress Oxide inks (colors in list below) in an ombre pattern.  I used a clean paper towel to lightly wipe the ink off of the embossing.  Then I glued it to an A2 card base.

Then I white heat embossed the large floral image in the Blooming Trumpet Flowers stamp set onto vellum.  I cut it out with the coordinating die.

Before I added anything else to the card front, I stamped the large flower on the inside of the card with Spun Sugar and Kitsch Flamingo Distress Oxide inks.

After I stamped in black ink and die cut the two sentiments from the Blooming Trumpet Flowers, I glued one on the inside of the card.

I glued together four layers of white cardstock die cut with the window die from the Basic Die Cutting Set 1 and then glued it to the card front.

Next I used tape runner to adhere the sentiment to the die cut vellum.  Then I glued Gradient Flat Back Pearls in Lime Green and Pale Pink here and there on the vellum floral.  Now I can add dots of glue behind the sentiment and pearls to adhere the vellum to the card.  No adhesives will show!

Check out my Instagram for the reel I posted today if you'd like to see more!  Thanks so much for stopping by!

Thank you for shopping with my affiliate links (never any additional cost to you)!

Wednesday, May 15, 2024

Floral Birthday Card With A Custom Die Cut Edge

Hello crafty friends! I'm back today with my birthday card that features Honey Bee Stamps gorgeous Everything Beautiful stamp set and  coordinating dies. I had a bit of die cutting fun to make the unique edge for this card--keep reading for the details!

First I stamped the large floral image from the Everything Beautiful stamp set with Copic safe black ink. I used Copic markers to color the flowers. These are the colors I used: R39, RV19, RV17, RV55, RV52, YG03, YG00, G28, YG67, YG63, YG25, and YG03.

I cut it out with the coordinating die. Next I got started on the card base and layers. I used a top-folding A2 white card base. I trimmed a piece of patterned paper from the Textiles & Textures: Celebrate paper pad to 5-½" x 4-¼" and used glue to adhere it to the card.

To create the die cut edge, I placed the colored florals on the card front to help me decide on the placement. I set aside the floral image and used a t-ruler to draw a line on the card base to use as a guide of where to place the top plate of my die cutting machine. My line is about 1-3/8" from the bottom edge of the card front.

Next I used removable tape to hold the die for the Everything Beautiful floral image in place on the card base.  Be sure to open up the card so you will only cut the top layer! Place the open card onto the cutting plate. Then put the top plate so that it only covers the bottom edge of the card, up to the pencil line you drew. Run it through your die cutting machine. Use your scissors to cut along the pencil lines just up to where the die cut part starts. This will remove the bottom edge of the card base front. Now you have a beautiful matching die cut edge for the floral image!

To finish up, I cut a narrow strip of black cardstock and used glue to adhere it in place. Then I used thin foam strips to adhere the Everything Beautiful floral image to the card. The sentiment is from the Everything Beautiful stamp set, stamped in black ink, and die cut with the coordinating die. I adhered it to the card with narrow foam strips.

I used a corner rounder to create the rounded corners on the card base. I think this adds just a bit of something different!

I added several pearls from the Celebration Pearl Stickers to the card. These match the patterned paper perfectly!

I hope you've enjoyed my card making process today and have found some inspiration here. Thank you so much for stopping by today!

Thank you so much for shopping with my affiliate links (never any additional cost to you)!

Sunday, May 12, 2024

Just A Note To Say Hello!

 Happy Sunday, and happy Mother's Day to all celebrating!  It's a short post today to let you know I'm up on the Brass and Bliss blog with my sweet card featuring their Always Peony stamps, stencils and dies.  Please join me over there for all of the specific details!

I started out with their Tree Branch Stencil to create a soft background layer for the card base.

I used their new Large Blending brushes and Small Detail brushes with all of the stencils today.  It's great to have another source for ink blending brushes!

I love that the Always Peony set has coordinating stencils to make coloring the beautiful flowers so easy!  After using the blending brushes to color the images, I cut them out with the Always Peony dies.

Check out more details over on the Brass and Bliss blog!  Have a beautiful day!

Thank you for shopping with my affiliate links (never any additional cost to you)!

Friday, May 10, 2024

Thinking of You!

Happy Friday!  Today I'm sharing my card I made with a few products from Spellbinders' beautiful Propagation Garden Collection by Annie Williams.  I love all of the products in this collection and the Propagation Garden Sentiments give you just the right thing to say for many occasions!

I embossed light gray cardstock with the Tufted 3D embossing folder.  I added this to an A2 card base with glue.

Next I cut a strip of woodgrain cardstock and inked it up with brown ink to make a shelf for the rooting plant to sit on.

I die cut colored cardstock with the chosen layers from the Propagated Plants dies and the Laboratory Glassware dies.  I have the cardstock colors in the list below.  These were all very easy to assemble and adhere with glue.  I added a couple pieces of foam tape on the back to adhere the arrangement to the card.

As I mentioned, the Propagation Garden Sentiments stamp set is filled with various sentiments.  You can choose from birthday, encouragement, friendship, and general sentiments!  After I stamped my sentiment in black ink, I cut it out with the coordinating die and popped it up on the card with foam tape.

I added a few green enamel dots from my stash for a touch of bling.

This card was really that easy!  The only thing I struggled with was what color of cardstock to use!  However, that is nothing new for me.  LOL!

If you are a mom, happy Mother's Day to you and I hope you have a most wonderful day.  I look forward to seeing our two daughters and sharing the day with them.  I will also be missing my mother.  While it's been almost 12 years now that she's been gone, I miss her greatly, but treasure the time and memories we had with her!

Thank you for shopping with my affiliate links (never any additional cost to you)!

Wednesday, May 8, 2024

Sweet Herb Garden Scene Birthday Card

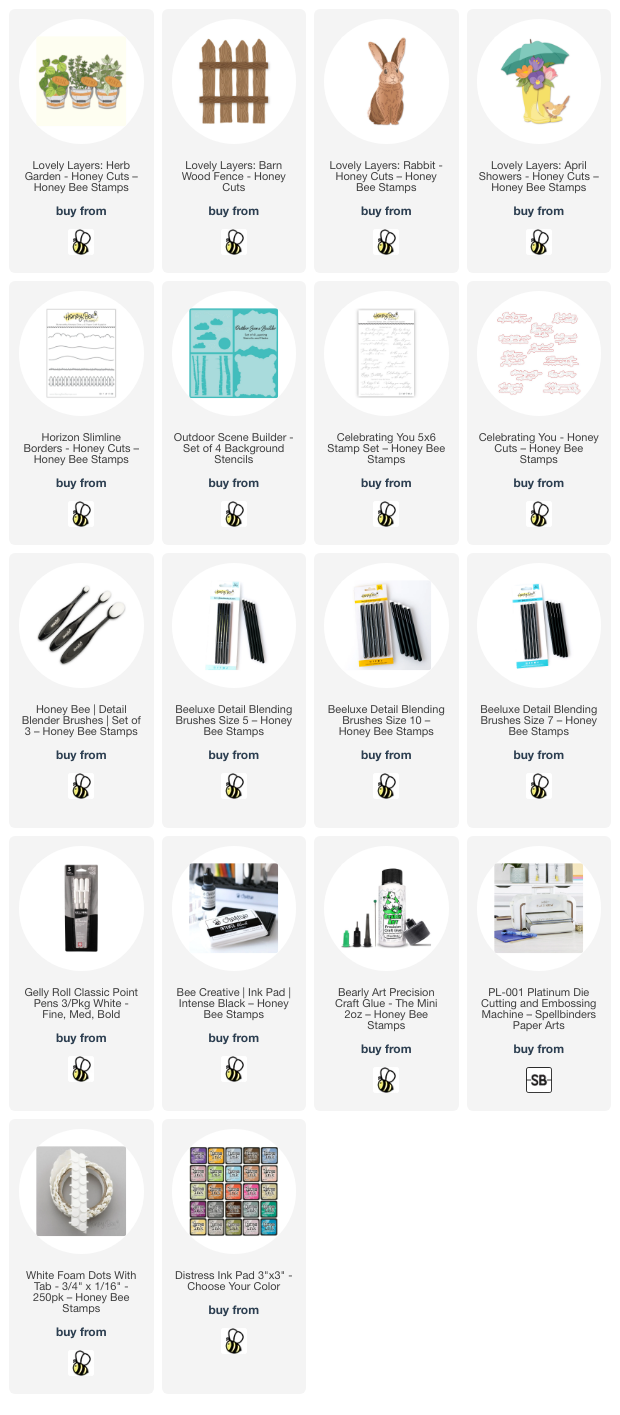
Hello crafty friends! Today I'm sharing this sweet garden scene card with a sneaky bunny taking a stem of herbs! I've hung pots of Lovely Layers: Herb Garden onto the Lovely Layers: Barn Wood Fence with the rabbit from the Lovely Layers: Rabbit as the adorable little thief!

First I created my 5" x 7" card base from 80# Neenah and used the cloud stencil from the Outdoor Scene Builder Stencils to ink on Tumbled Glass Distress ink with a blender brush. I used another brush to add Mowed Lawn ink at the bottom of the card front.

Then I die cut the Lovely Layers: Barn Wood Fence twice from white cardstock. I expanded the fence by cutting one section from the second fence and gluing it at the end of the other. Then I used a blender brush to add Lost Shadow Distress ink for some shading. After trimming the fence to 4-½" high, I added foam strips to the back of the fence, but did not adhere it just yet.

I die cut the elements from the Lovely Layers: Herb Garden from gray, light brown, and green cardstocks. Die cutting the layers from colored cardstocks made it easy to add shading to the pieces with more Distress Inks. I used Lost Shadow, Mowed Lawn, Rustic Wilderness and brown and gray green inks from my stash. I used the Layering Guide to assist in assembling the pieces with the herbs and pails with glue. I used my scissor to snip the ends of the basil stems and saved the pieces that I clipped off.

The one step that I did differently from the Layering Guide was to adhere the handle of each pail in an upright position so I could hang two of them from the fence.

I added a large foam dot to the back of each pail. Then I slipped the handle of the two on the sides over the Barn Wood Fence to adhere. I just adhered the center pail slightly lower than the other two. I removed the backing of the foam strips on the fence and adhered it to the card base.

I die cut the layers of the Lovely Layers: Rabbit from white card stock. I used blender brushes to add two shades of brown ink and one light pink ink to color the layers. The Beeluxe Detail Blending brushes were handy for the small pink cheeks. I used my black Copic marker to color the rabbit's eyes. Then I glued each layer together and used a white gel pen on the eyes and cheeks and a brown pen on his mouth for extra details.

The sweet bird is from the Lovely Layers: April Showers Honey Cuts. After I die cut the layers from white cardstock, I used some of the same inks used previously plus Prize Ribbon Distress ink to color the bird with blending brushes.

For a finishing touch, I used a couple pieces of the leftover basil stems and glued the extra leaf onto another piece. Then I tucked it under the rabbit's paw--sneaky rabbit eating the herbs! Haha!

The sentiment is from the Celebrating You stamp set. After I stamped it with black ink, I cut it out with the coordinating die. I added a few narrow foam strips to the back to adhere it to my card.

I love how this sweet scene turned out, and hope I've given you more inspiration with these awesome sets! Thank you so much for stopping by today! I really appreciate you!

Thank you so much for shopping with my affiliate links (never any additional cost to you)!

Tuesday, May 7, 2024

Hello, Sweet Friend!!

It's time for the latest Spellbinders Club Kits for May!  My card features two of the May Club Kits:  Stitching Die of the Month and the Embossing Folder of the Month!

First I embossed white cardstock with the Latticework embossing folder.  Before I adhered it to my A2 card base I added some pretty metallic gold splatters.

I die cut all of the pieces of the Stitched Pineapple from colored cardstock.  The colors are in the list below.  After stitching the base layer with six strands of yellow DMC embroidery floss (color #307), I adhered the layers together with glue.

I attached the pineapple to the card with foam tape.  Then I added coordinating gem stickers to the centers of the stitching.

I thought this sentiment from the Always and Forever Sentiment Strips Press Plate & Die set was absolutely perfect to go with the pineapple!  (The nice thing is that this set is one Press Plate to create several sentiments at once and die cut all together!  I just chose one that I had saved to use later.)

Be sure to check out all of the details of the Spellbinders Club Kits.  There are so many options to choose from!

Thank you for stopping by today!  I hope you have an awesome week!

Thank you for using my affiliate links to shop (never any additional cost to you)!

Monday, May 6, 2024

The Sea Is Calling For Me!

The sentiment is so fitting for me!  I could take a trip to the sea anytime at all--I love it!  I'll be sharing a few details of this card here to go along with the reel I've posted over on Instagram.  This features several beautiful products from Picket Fence Studios April release.

This shaker card is created with an A2 panel from the Beachcombing Fabulously Glossy A2 Card Fronts pack.  After sealing the shaker pocket around the card, I added the shaker bits from the Island Blues Sequin Mix.

Next I used a scrap piece of cardstock from the Coral to Aqua to Turquoise Ombré foiling toner cardstock pack.  It's great that this cardstock has beautiful colors and can be used as is, without foiling!  I placed a piece of Lapis Watercolor toner foil over it and ran it through my Minc Mini machine.  I have had this foil for several years, and amazingly, it is still available!  The link is in my list below.

I die cut the foiled piece with the dies in the Find Me By The Sea word die set.  I die cut two more from white cardstock and adhered the layers together.

After using a Paper Pouncer to color the Ornamental Grass die cut, I used glue to adhere it and the turtle to the card front.  The turtle is from the A Sea Turtle's Journey stamps and dies and I had saved it from a previous project.  The sentiment is adhered with glue.  Did you see how I trimmed the stamped sentiment to work with the die cut sentiment?  It's from the Signature Quotes: The Sea and I just used my scissors to trim off the "the sea" portion.  A few pieces of foam tape pop it up on the card.

I hope you'll check out my reel over on Instagram for some of the in action making process!  Thanks so very much for stopping by today!

Thank you for shopping with my affiliate links (never any additional cost to you)!